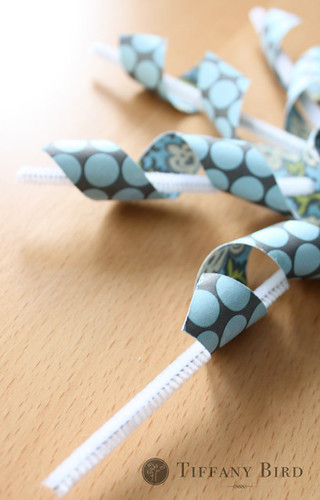
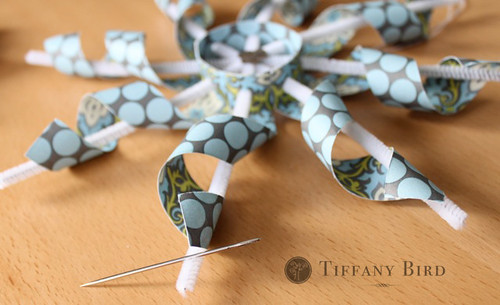
Hi. It's Tiffany from Simply Modern Mom. Here we are a few days away from Christmas and I'm happy to be on Bloom to share with you my snowflake designs. I am not a winter person having grown up in Hawaii and Georgia. So to get me into the winter mood, I designed three different paper snowflakes to decorate my house and something to do with the kids. Then when Emily asked me to do a guest post for Bloom, I decided to come up with this fourth design for the special occasion.
You can find all the tutorials at Simply Modern Mom: the piping paper snowflake, the twirly paper snowflake and the cookie cutter paper snowflake. This tutorial is the twisted paper snowflake (nicknamed crazy octopus), which is a combination of both the piping and twirly snowflake.
- cardstock paper
- 8 markers, pens or pencils
- 4 pipe cleaners/chenille
- paper cutter, scissors
- ribbon, string or thread
- needle
- hole punch or other embellishments for the center
- glue
- low adhesive tape
2. Place glue at one end of the first strip. Then make a ring, only to one strip of cardstock.
3. Fold one end of the remainder 8 strips at 3/4".
4. Tape one of the strip diagonally to the markers, then wrap it around and tape the second end. Do to all 8 strips. Allow the paper to settle for at least an hour. The longer the better.
5. While waiting for the twists to settle. Take your pipe cleaners and mark at the edge of the ring where the holes need to be. There will be 8 holes all evenly spaced.
6. Unwrap the twisted strips then apply glue to the end where you had previously folded at 3/4".
7. Glue the strips of twisted paper onto the ring according to the markings previously made with the pipe cleaners. Make sure they are all equally spaced.
8. Use a small hole punch or scrapbooking hole punch with hammer tools to punch holes in the middle of each glued ends on the ring.
9. Pull the pipe cleaners through the holes across from each other. Then wrap the curls around the pipe cleaners.
10. Trim off excess pipe cleaner ends.
11. Use needle to attach ribbon or thread to the snowflake to hang. Optional, apply embellishments to center of the snowflake.
Thanks for the great tutorial, Tiffany. I think a twirly collection of these whimsical flurries might be just the thing to keep the January doldrums at bay :)


3 comments:
I love paper, so I LOVE these! Just fun and beautiful!
How pretty! I am going to make some to put up in my house :D
WOW. SO cool. thank you for sharing with us!
Post a Comment