 Two years ago when my newlywed husband and I moved into our apartment, I thought it would be fun to decorate the joint... It's a one bedroom-- that should be easy, right?! Eh, after a weekend spent painting our bedroom, I was kind of over that idea.
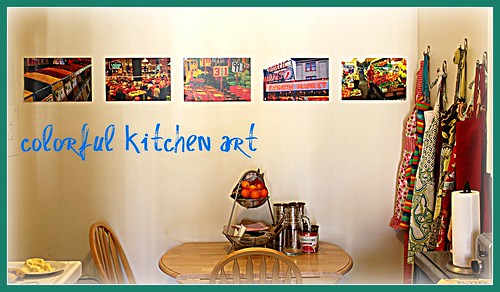
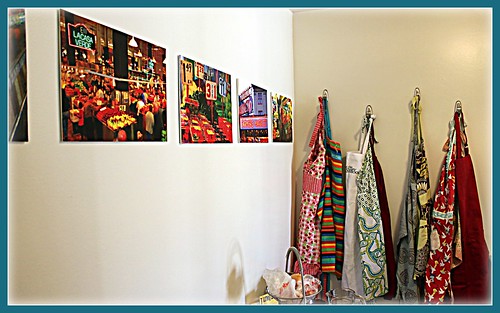
 In order to bring some sort of color to the white walls of my kitchen without a painting party or too much effort, I decided to make these quick, easy and affordable 'art pieces' for the room. As you'll see, you can do this for $10 (or less if you already have some of the materials) and in a short amount of time.
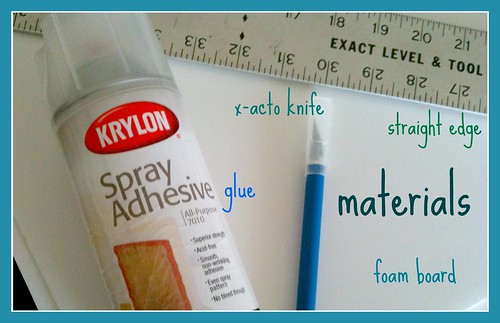
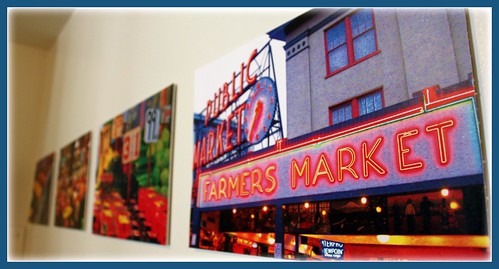
I chose five photos from various farmer’s markets we have visited, saturated them using a photo editing program (picnik is a great free web-based option), and had them printed at a copy store. This effect created vibrant colorful images that I glued onto the foam core using spray adhesive. I used a straight edge and x-acto knife to cut them to size. You could use any type of adhesive to hang them on the wall (I used revmovable velcro).
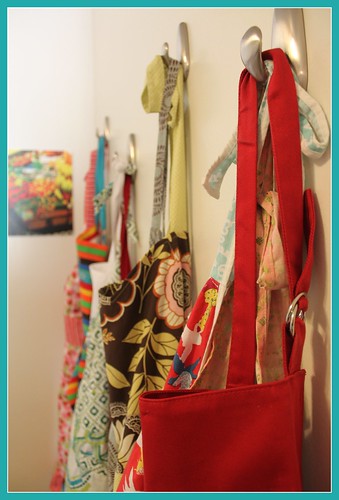 By displaying my aprons on the adjacent wall, I was able to make a practical use of the space and add more bright color at the same time. To hang them, I used 3M removable hooks (which I also use to hang stockings by my fireplace at Christmas!).
In the end, I was happy to have infused some life into my otherwise sterile kitchen. Of course you could edit your photos in a number of different ways to come up with an interesting and unifying photo art wall. Have fun!




4 comments:
I love this! I've been thinking of doing something similar with some of my kids' artwork, but I wasn't quite sure how to go about it. Thanks so much for the tutorial!
This would be so cute to do with family pics or their artwork.
Love this! So easy and fun. Thanks for sharing.
Foam core and spray adhesive!? Why didn't I think of that one already? Such a simple, logical way to add life to your walls.
Thanks for sharing, dear :)
Post a Comment